

Introduction
Security begins with the right camera placement.
Blink Outdoor Camera is a smart, wireless security solution.
But mounting it correctly is very important.
This guide will explain how to mount Blink Outdoor Camera easily.
Every step is simple, clear, and beginner-friendly.
Let’s get started with the basics.
Why Proper Mounting Is Important
Mounting determines how well your camera sees.
A wrong angle can miss an important activity.
Proper height also reduces the chances of theft.
It ensures motion sensors work as designed.
Better positioning means better home protection.
What Comes in the Blink Camera Box?
Before mounting, check the box contents:
- Blink Outdoor Camera
- Mounting bracket
- Screws
- Two AA lithium batteries
- USB power cable (for Sync Module)
- Quick start guide
Make sure nothing is missing before proceeding.
Tools You Will Need
Prepare these tools for easy installation:
- Screwdriver or drill
- Pencil or marker
- Ladder (if mounting high)
- Anchors (for concrete or brick walls)
- Level (optional for accuracy)
Having the tools ready saves time and effort.
Step 1: Choose the Perfect Location
Location affects performance the most.
Pick a spot with a wide, open view.
Install it 6–10 feet above ground.
Avoid pointing it toward direct sunlight.
Keep away from blowing branches or moving cars.
Check Wi-Fi strength before finalizing the location.
Step 2: Test the Camera Before Mounting
Place the camera temporarily at your chosen spot.
Use the Blink app to view the live feed.
Check if the area is well covered.
Walk in front to test motion detection.
This helps avoid unnecessary drilling.
Step 3: Mark Drill Points for the Mount
Hold the mount against your chosen surface.
Use a pencil to mark the screw holes.
Ensure it’s straight and level.
Mark carefully to avoid mistakes during drilling.
Step 4: Drill Holes and Add Anchors
Now use a drill to make small holes.
If mounting on concrete, insert wall anchors.
Anchors help hold screws securely in hard surfaces.
For wood or soft walls, anchors are not needed.
Step 5: Attach the Mounting Bracket
Align the bracket with the drilled holes.
Insert the screws and tighten them securely.
Don’t overtighten, or the mount may crack.
It should feel strong and not wobble.
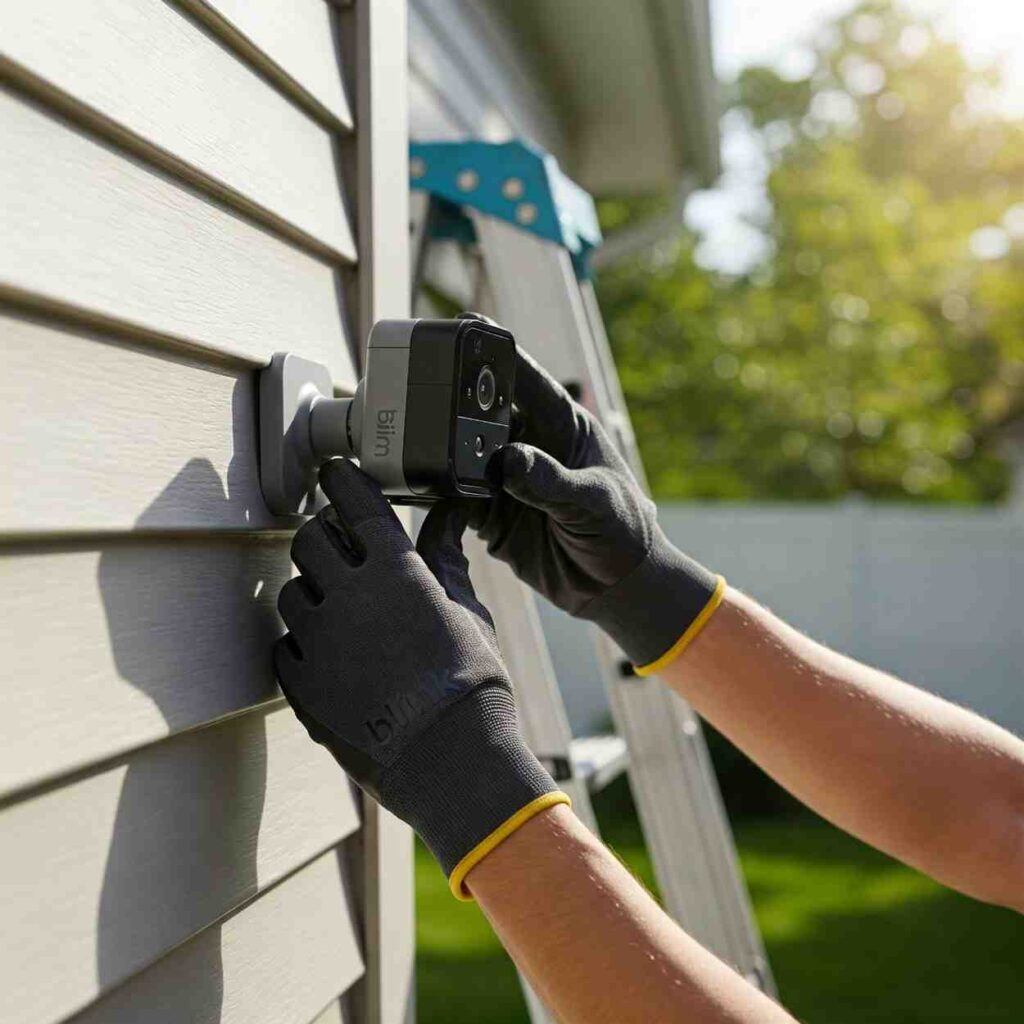
Step 6: Mount the Blink Camera
Now, take the camera and attach it.
Slide or click it into the mount properly.
Make sure it fits tightly and doesn’t fall.
Adjust the tilt and angle as needed.
Step 7: Check the Camera View Again
Go back to the Blink app now.
Check the live view from the mounted position.
Make sure the entire area is visible.
If needed, gently adjust the camera direction.
Step 8: Final App Settings
In the Blink app, fine-tune settings.
Adjust motion detection sensitivity.
Set activity zones to ignore unnecessary movement.
You can enable or disable audio recording.
Make changes based on your security needs.
Tips for Different Mounting Surfaces
Wood Walls
Use screws directly, no anchors needed.
Concrete or Brick
Always use anchors before inserting screws.
Vinyl or Siding
Choose a flat surface to avoid gaps or wobbles.
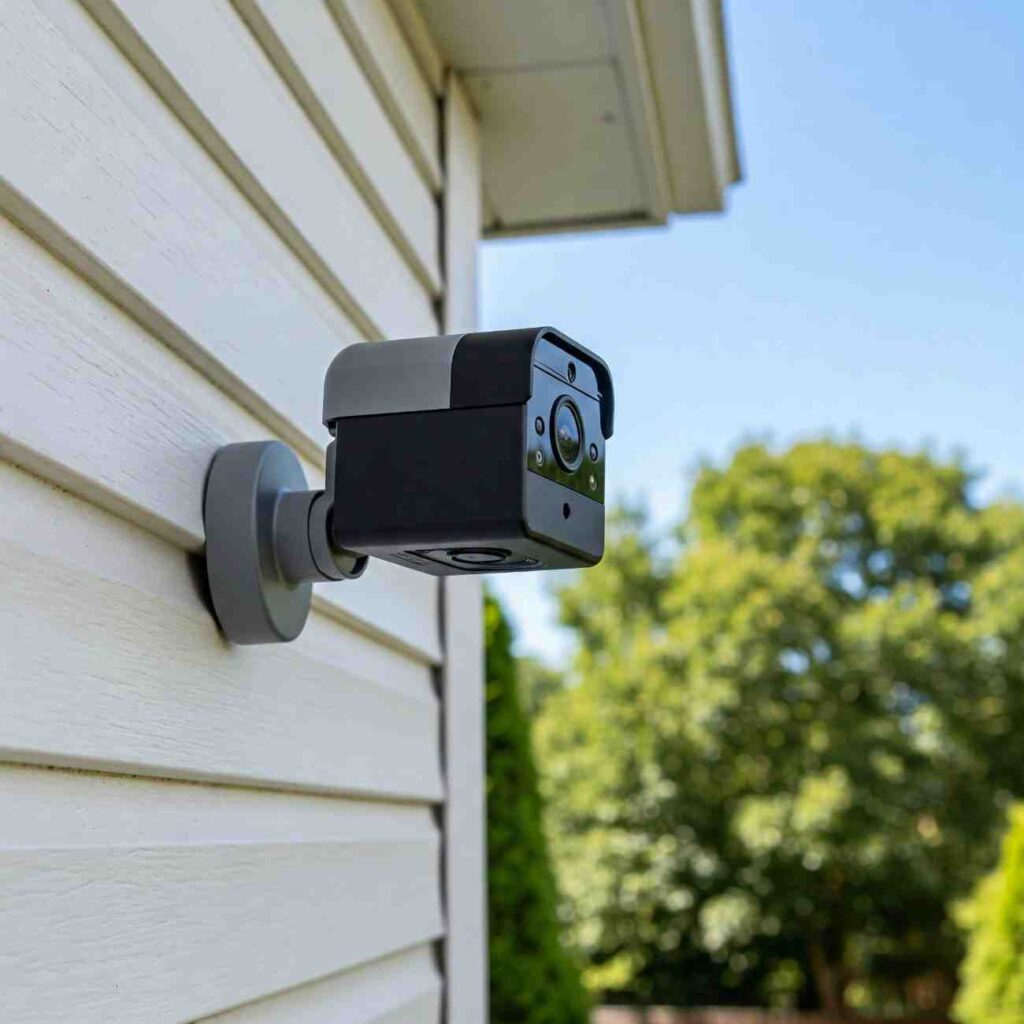
Under Roof Eaves
Provides better protection from rain and sunlight.
Best Practices for Camera Positioning
- Keep the camera slightly downward for a better angle
- Avoid placing near reflective surfaces
- Keep away from constant movement like trees
- Make sure no objects block the lens
- Mount high enough to avoid tampering
Good placement ensures effective video monitoring.
How to Hide Blink Outdoor Camera
Some users prefer discreet setups.
Mount behind plants without covering the lens.
Use skin covers that match your house color.
Hide wires if using USB power.
Mount high to reduce visibility from ground level.
How to Adjust Camera Angle
After mounting, gently rotate the camera.
Tilt up, down, left, or right as needed.
Use the app to preview the view live.
Stop adjusting once the target area looks perfect.
How to Remove or Replace the Camera
To remove, grip the camera firmly.
Twist or pull it from the mount slowly.
If batteries are low, remove and replace them.
To re-mount, follow the same steps backward.
Battery Tips for Blink Outdoor Camera
Blink uses AA lithium batteries only.
Rechargeable or alkaline batteries are not recommended.
Check battery life in the Blink app anytime.
The battery lasts up to two years with normal use.
Cold weather can drain batteries faster.
Common Mistakes to Avoid
- Mounting too low
- Ignoring Wi-Fi strength
- Pointing directly at the sun
- Blocking the motion sensor
- Using weak mounting screws
Avoiding these mistakes will save you time later.
Additional Mounting Accessories (Optional)
Blink supports third-party mounting options.
Some popular choices include:
- Flexible gooseneck mounts
- Suction mounts for windows
- Magnetic mounts for metal surfaces
- Gutter mounts with no drilling
- Tree strap mounts for quick use
Choose what best fits your home setup.
Regular Maintenance Tips
Wipe the camera lens monthly.
Check mount screws every few months.
Update firmware from the app when available.
Check the live view during different times of day.
Adjust the angle if the lighting changes seasonally.
Proper care ensures better long-term performance.
FAQ: How to Mount Blink Outdoor Camera
Q1: Can I mount Blink camera without screws?
Yes, use third-party no-drill mounts like suction or strap mounts.
Q2: How high should I mount the camera?
Six to ten feet above ground is ideal for good coverage.
Q3: Can the camera be mounted upside down?
Yes, you can rotate the video in the app.
Q4: Is Blink Outdoor Camera waterproof?
It is weather-resistant but not waterproof. Mount under cover if possible.
Q5: Can I use magnetic mounts?
Yes, if the surface is metal and secure enough.
Q6: What angle is best for motion detection?
A slightly downward angle improves motion detection accuracy.
Q7: Can I mount it indoors?
Yes, Blink Outdoor Camera works both inside and outside.
Q8: How do I know if the Wi-Fi signal is strong?
Use the Blink app’s signal strength test during setup.
Q9: Can I move the camera later?
Yes, simply remove and remount using the same or new screws.
Q10: Do I need a professional to mount it?
No, you can easily do it yourself with basic tools.
Final Thoughts
Now you know exactly how to mount Blink Outdoor Camera.
The process is easy and doesn’t require expert skills.
Proper mounting improves your camera’s performance.
Choose the right location and use the right tools.
Follow these steps to secure your home with confidence.
A well-mounted camera gives peace of mind every day.